Availabilities
In the Availability section, you can set up different calendars to reflect employees' work schedules. Here, you can define and manage both full-time and part-time schedules. The calendars you create will then serve as the basis for planning work and project hours.
In the following sections, we will guide you through all available features and show you step by step how to create, customize, and manage availabilities.
➢Click on Availability in the navigation bar to go to the Availability section.
▶ By default, the Availability section opens in the Active Availability view.
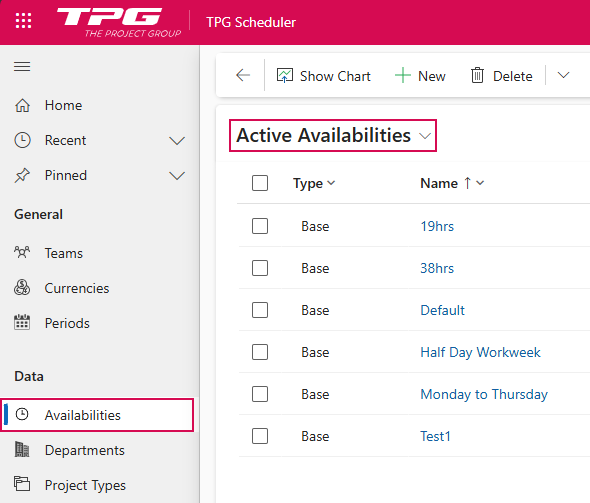
This view displays a table listing all active availabilities within a calendar year.
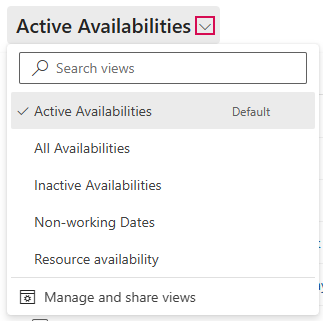
You can switch to other views using the drop-down menu:
➢Click the down arrow and select a view:
▪All Availabilities: A table listing all calendars.
▪Inactive Availabilities: Tabular list of all inactive calendars.
▪Non-working Dates: Tabular list of all non-working days, e.g., holidays.
▪Resource availability: Tabular list of all resources to which a calendar is assigned.
The following section describes how to create, edit, and manage availabilities.
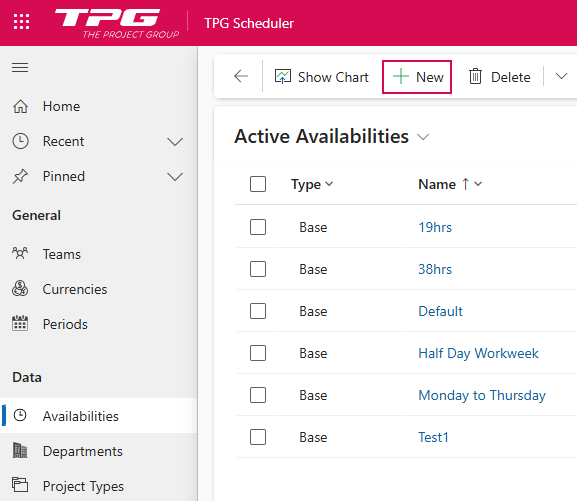
▶ The procedure is described in the Active Availabilities default view. The procedure is the same in the other views.
Create Availabilities:
➢Click New in the command bar. ▶ The New Availability form opens.
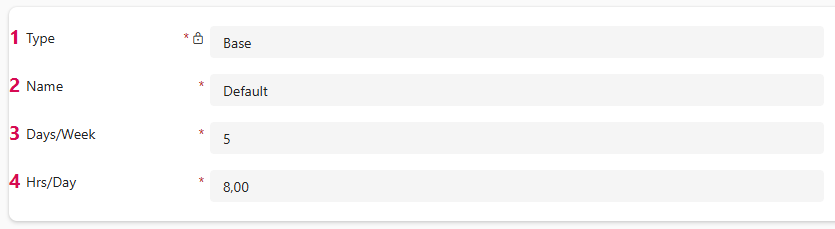
➢Fill out the form:
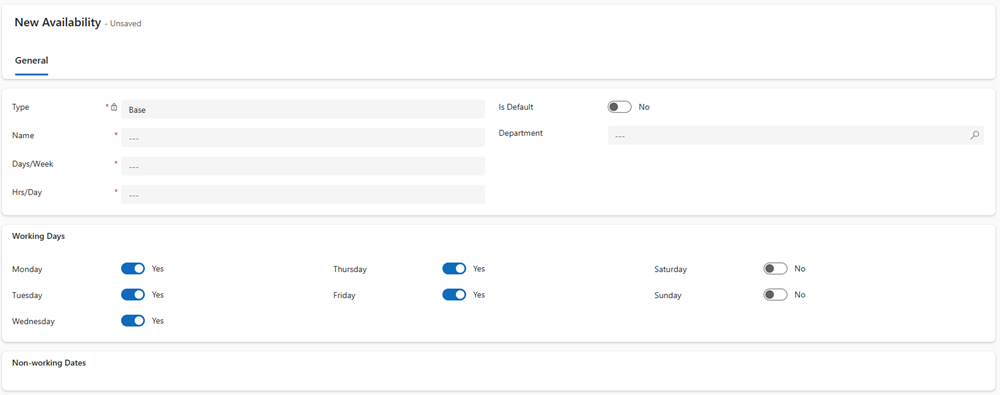
▶ All required fields are marked with a red asterisk.
➢Type: (1) Set automatically by the system to Base.
➢Name: (2)
➢Enter the name of the availability. It should be as descriptive as possible, e.g., Default.
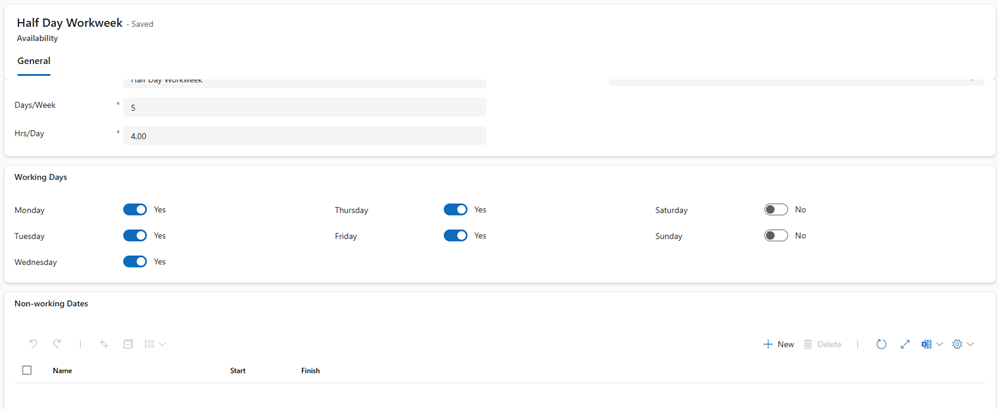
➢Days/Week: (3)
➢Enter the number of workdays per week.
➢Hrs/Day: (4)
➢Enter the number of working hours per day.
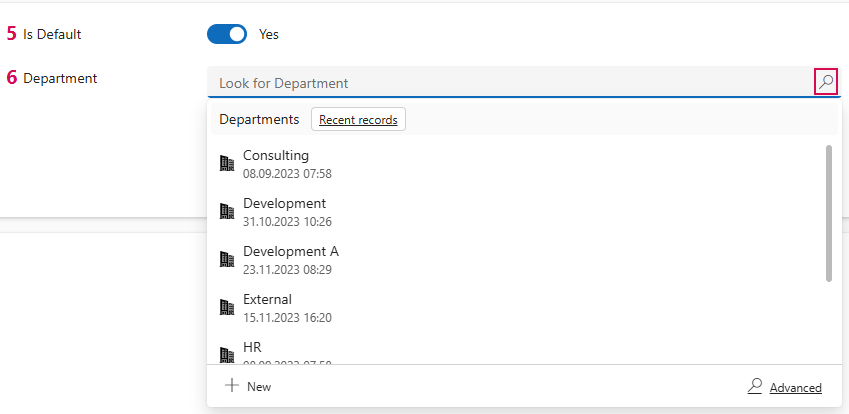
➢Is Default: (5) By default, the current availability is not set as the default. The slider is set to No.
➢Click the slider to set the availability as the default. ▶ The slider is set to Yes.
➢Department: (6) The department to which the availability is assigned.
➢Click the search icon to select a different department from the drop-down menu.
➢Working Days: By default, Monday, Tuesday, Wednesday, Thursday and Friday are marked as workdays (with the slider set to Yes), and Saturday and Sunday are marked as non-workdays (with the slider set to No).
➢Click the slider to designate the desired day as a workday or a non-workday.

➢Non-working Dates (8): You can assign non-working days to the calendar.
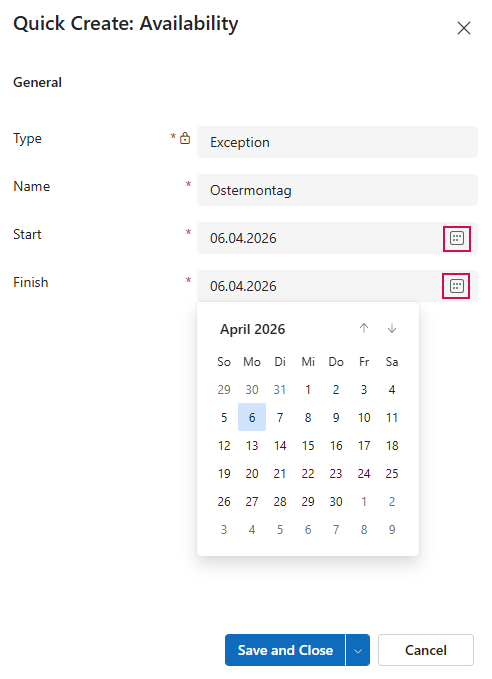
➢Click New. ▶ The Quick Entry: Availability form opens.

➢Type: Is automatically defined as an exception by the system.
➢Name: Enter the name. It should be as descriptive as possible, e.g., Ostermontag.
➢Start and Finish: Click the calendar icon to enter the start and end dates.
➢Click Save and Close.
▶ The Type field is filled in automatically by the system.
▶ Fields that cannot be edited are marked as locked with a lock icon.
➢Click Save or Save & Close on the command bar.

▶ A new Avalability has been created.
Edit Availabilities:
Editing an existing availability follows the same process as creating one: All fields that have already been created can be modified as described above.
▶ Fields that cannot be edited are marked as locked with a lock icon.
➢Select the availability you want to edit, such as Half Day Workweek.
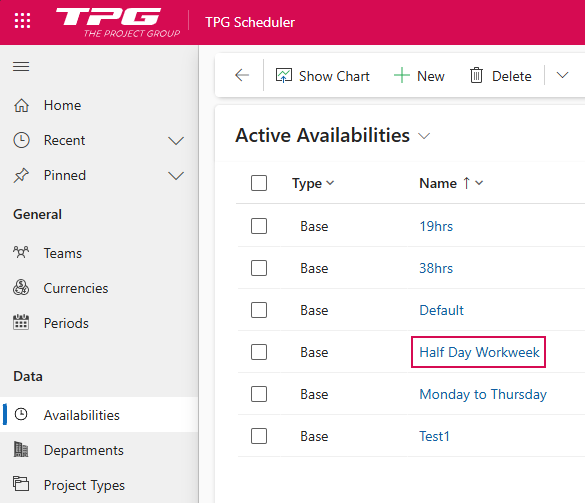
➢In the Active Availabilities view, click Half Day Workweek. ▶ The Half Day Workweek form opens.
➢Enter the desired changes.
➢Click Save or Save & Close on the command bar.