Record working time
Record your working time for the desired week as follows:
➢Navigate to the week for which you want to record your working times. If the required activity is not available in the table, add it (see Add tasks to Timesheets).
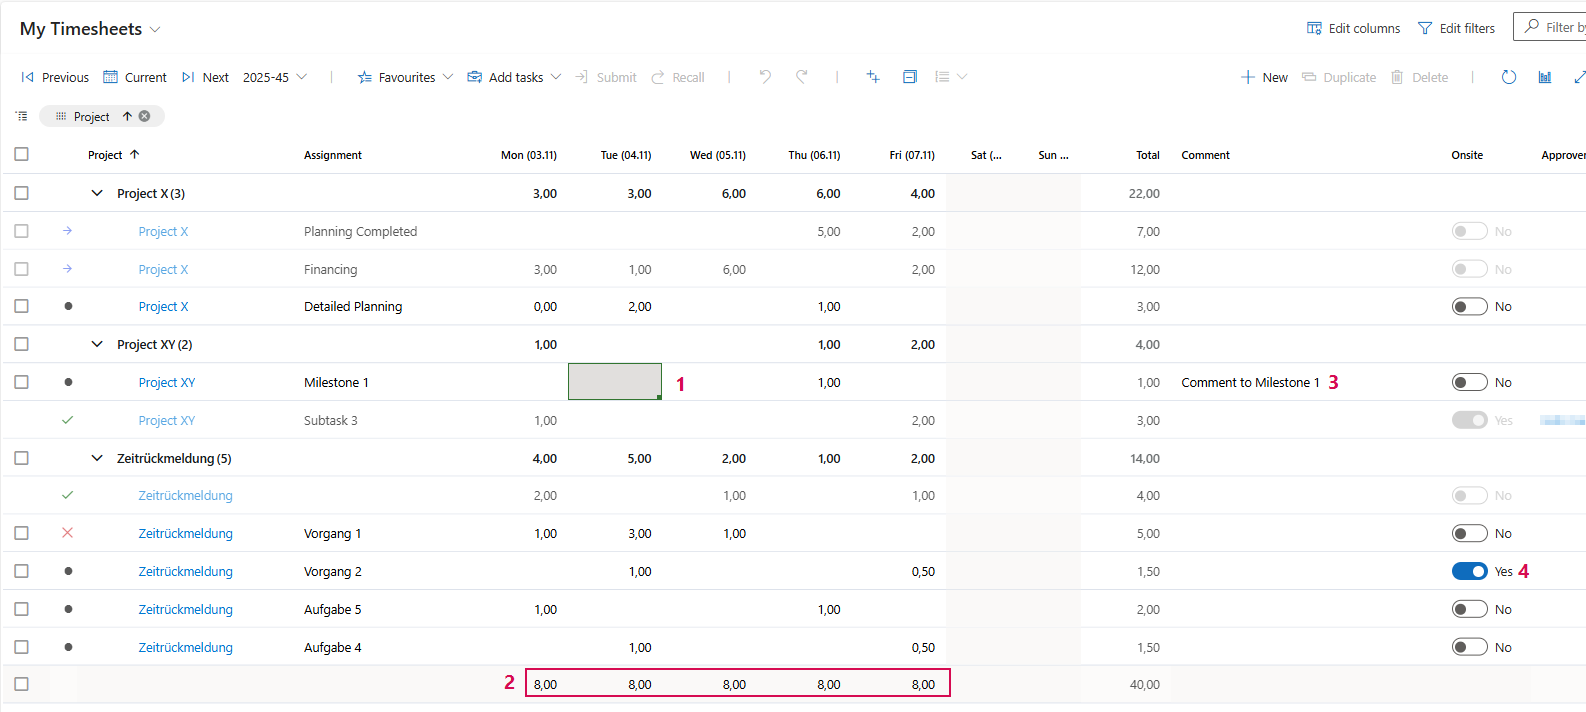
➢Enter the number of hours worked for each day and task in the table. (1)
▶ The last row shows the total number of working hours for all entries in the column. (2)
➢Enter details or comments for the person approving the entry in the Comment column (optional). (3)
➢If the work took place on site, set the value in the Onsite column to Yes. (4)
Submit entries for approval:
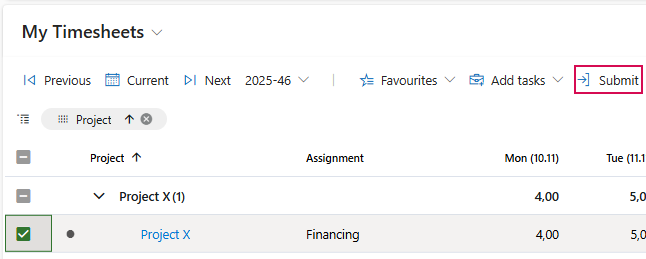
➢Select the checkbox for the row(s) you want to submit for approval.
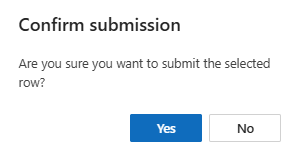
➢Click Submit to send the entry. ▶ A confirmation dialog will open.
➢Click Yes to confirm the confirmation dialog.
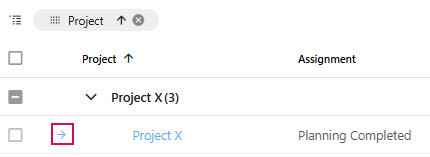
▶ The transaction(s) have been submitted for approval.
▶ An arrow will appear in the indicator column.
Recall entries:
You have the option to recall entries that have already been submitted.
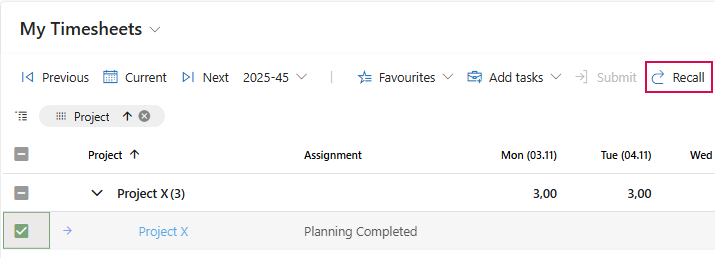
➢Select the checkbox for the line you want to recall.
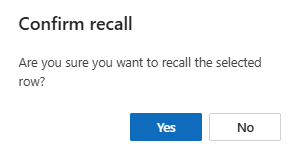
➢Click Recall. ▶ A confirmation dialog will open.
➢Click Yes to confirm the confirmation dialog.
Check approval status:
The name of the approving person is shown in the Approver column.
The status is shown in the indicator column:
▪Green check mark = approved
▪Red cross = rejected
▶ If the approving person has left a comment, it will appear in the Approvers comment column.
Edit rejected entries:
If your entries has been rejected, edit the line as described above. Resubmit the entry.