Periods
In the Periods section, you can create and manage periods based on calendar weeks.
In the following sections, we will guide you through all available features and show you step by step how to create, customize, and manage periods.
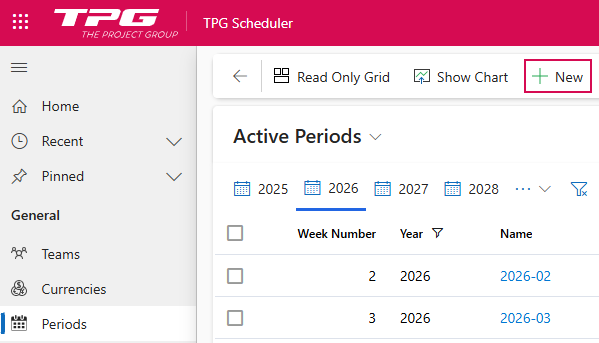
➢Click Periods in the navigation bar to go to the Periods section.
▶ The Periods section opens by default in the Active Periods view.
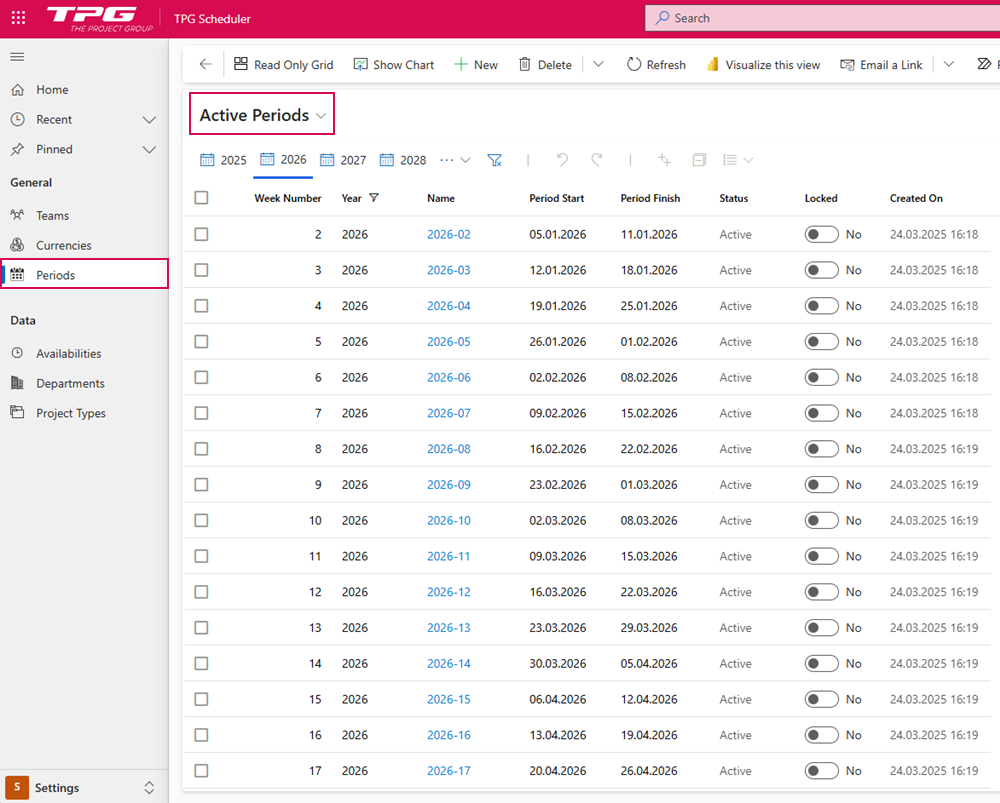
This view displays a table listing all active periods within a calendar year.
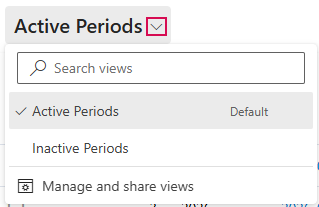
You can switch to other views using the drop-down menu:
➢Click the down arrow and select a view:
▪Active Periods: A table listing all active periods.
▪Inactive Periods: A table listing all inactive periods.
Navigating between calendar years:
The year selector is located above the table listing the time periods. By default, four years are displayed for direct selection. The currently selected year is underlined in blue:
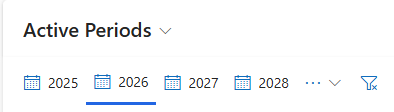
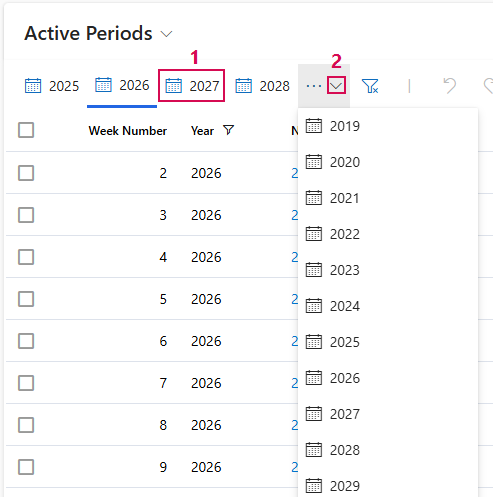
➢Click on the desired year in the year bar to jump directly to that year. (1)
Or
➢Click the down arrow. ▶ A drop-down menu with additional years will open. (2)
➢Click on the desired year to view the time periods within that year.
The following section describes how to create, edit, and manage periods.
▶ The procedure is described in the Active Periods default view. The procedure is the same in the other views.
Create Periods:
➢Click New in the command bar. ▶ The New Period form opens.
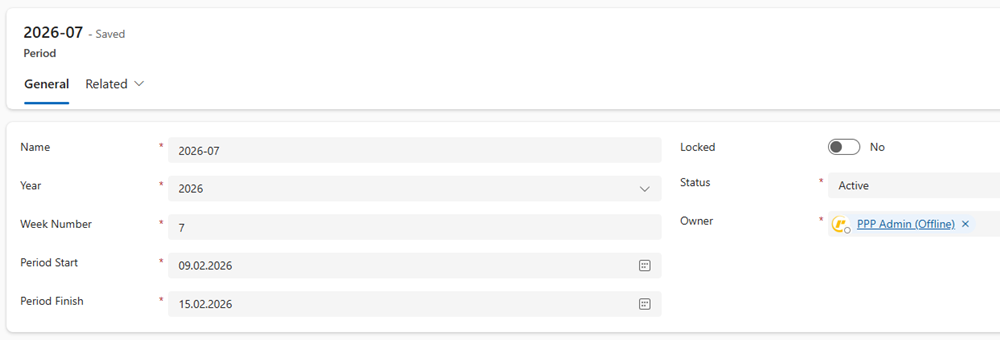
➢Fill out the form:
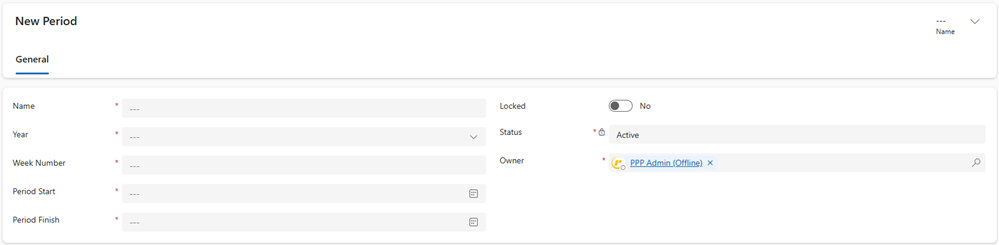
▶ All required fields are marked with a red asterisk.
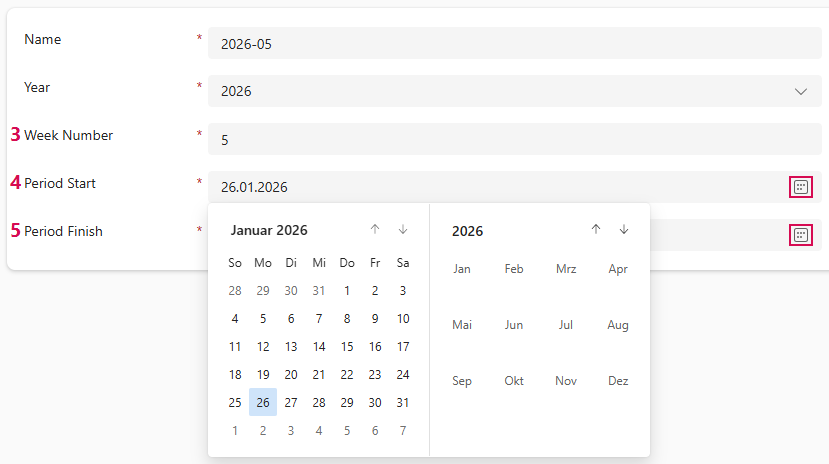
➢Name: (1)
➢Enter the name of the time period. It should be as descriptive as possible, e.g., 2026-05 (Calendar Week 5 of 2026)
➢Year: (2)
➢Click the arrow to select the year in which the time period falls from the drop-down menu.

➢Week Number: (3)
➢Enter the number of the calendar week in which the period falls
➢Period Start: (4)
➢Click the calendar icon and select the desired start date for the time period.
➢Period Finish: (5)
➢Click the calendar icon and select the end date for the time period.
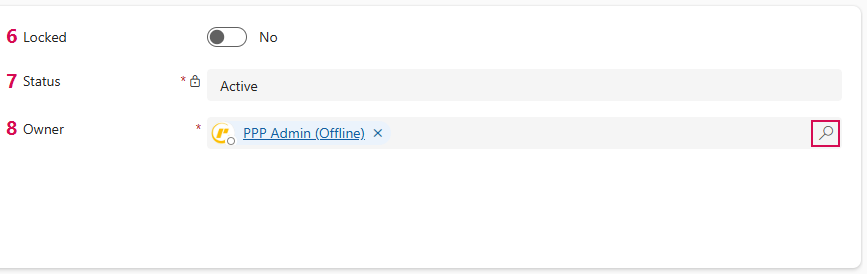
➢Locked (6): By default, the time period is not restricted. The slider is set to No.
➢Click the slider to lock the time period. ▶ The slider is set to Yes.
➢Status (7): Set to Active automatically by the system.
➢Owner (8): By default, the system automatically assigns the person who created the time period as the owner. You can change the owner.
➢Click the search icon to select a different owner from the drop-down menu.
▶ The Status and Owner fields are automatically filled in by the system. You can edit the Owner field.
▶ Fields that cannot be edited are marked as locked with a lock icon.
➢Click Save or Save & Close on the command bar.

▶ A new Period has been created.
Edit Periods:
Editing an existing period follows the same process as creating one: All fields that have already been created can be modified as described above.
▶ Fields that cannot be edited are marked as locked with a lock icon.
➢Select the time period you want to edit, e.g., 2026-07.
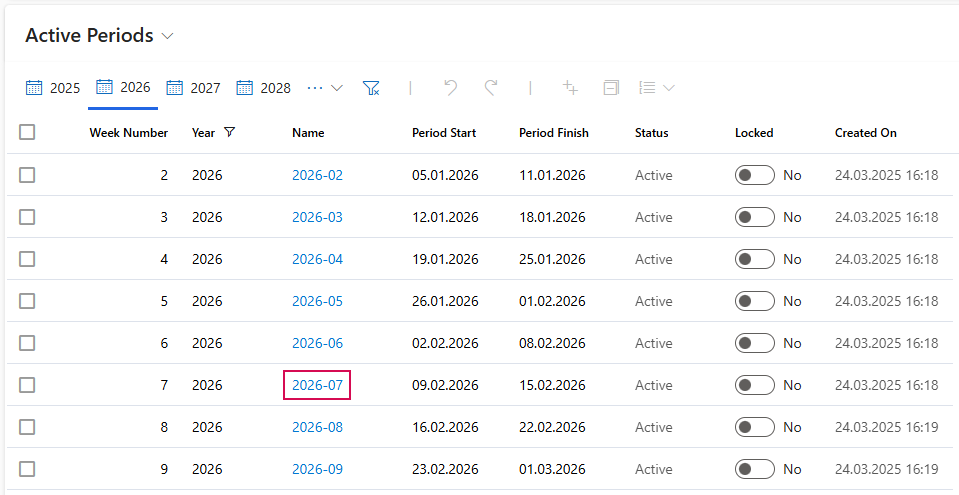
➢In the Active Time Periods view, click 2026-07. ▶ The 2026-07 form opens.
➢Enter the desired changes.
➢Click Save or Save & Close on the command bar.