Teams
In the Teams section, you manage team structures. Here, you can create new teams, edit existing entries, and organize employee assignments. Team assignments are also used to assign security roles that control PPP permissions.
▶ Permissions cannot be directly assigned or modified by an administrator.
There are two types of teams:
Owner Teams
▪Can own records
▪Have their own security roles
▪Team members receive permissions through these roles
▪Suitable for permanent groups (e.g., Departments)
Access Teams
▪Cannot own records
▪Grant individual users access to specific records
▪Access is granted on a per-record basis
▪Suitable for temporary or project-based collaboration
In the following sections, we will guide you through all available features and show you step by step how to create, customize and manage teams.
➢Click Teams in the navigation bar to open the Teams section.
▶ By default, the Teams section opens in the Local Business Owner Teams view.
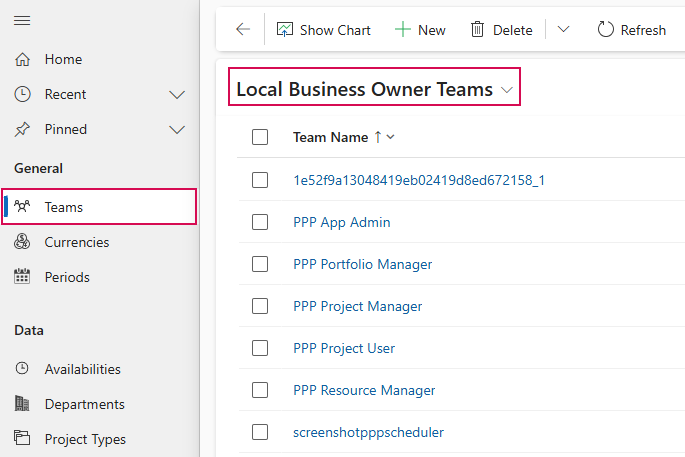
In this view, all local business owner teams are displayed in a table.
▶ Local business owner teams own and manage records within a specific business unit. The assigned security roles determine which access and editing permissions the team and its members have.
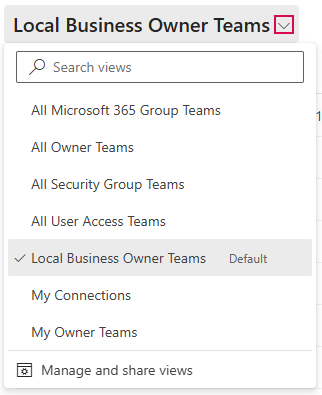
You can switch to other views using the drop-down menu:
➢Click the down arrow and select a view:
▪All Microsoft 365 Group Teams: A tabular list of all Microsoft 365 group teams.
▪All Owner Teams: A tabular list of all owner teams.
▪All Security Group Teams: Tabular list of all security group teams.
▪All User Access Teams: A tabular list of all user access teams.
▪My Connections: Tabular list of all team instances to which a user is linked via an active connection.
▪My Owner Teams: Tabular list of all owner teams to which the current user is assigned.
The following section describes how to create, edit, and manage teams.
▶ The procedure is described in the default view, Local Business Owner Teams. The procedure is the same in the other views.
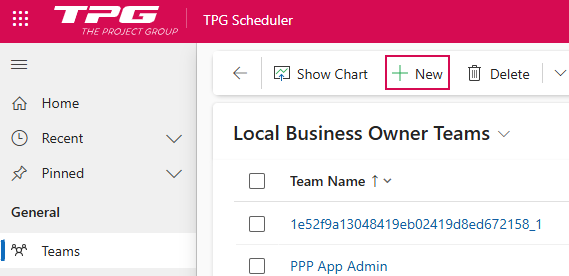
Create a Team:
➢Click New in the command bar. ▶ The New Team form opens.
➢Fill out the form:
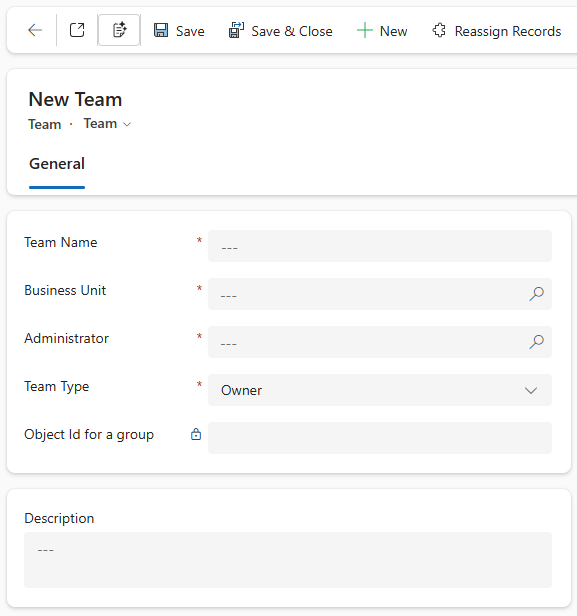
▶ All required fields are marked with a red asterisk.
➢Team Name:
➢Enter a name for the team. It should be as descriptive as possible.
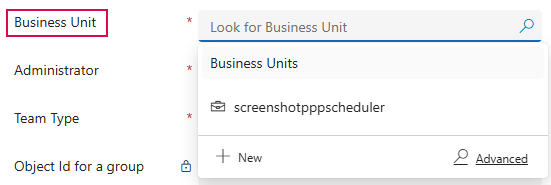
➢Business Unit:
➢Enter the Business Unit.
| Or |
➢Press Enter to search for a Business Unit.
| Or |
➢Click New to create a new Business Unit.
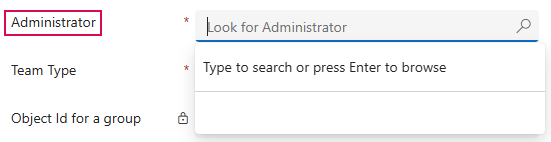
➢Administrator:
➢Enter an administrator.
| Or |
➢Press Enter to search for an administrator.
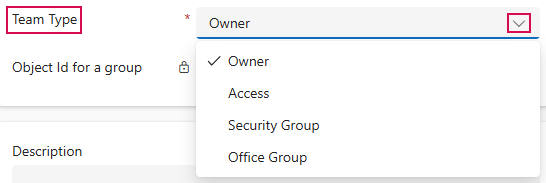
➢Team Type:
➢Click the arrow to select the type from the drop-down menu.
➢Object ID for a group
➢Description:
➢Enter a description for the Team.
➢Click Save or Save & Close on the command bar.

▶ A new Team has been created.
Edit Team:
Editing an existing team follows the same process as creating one: All fields that have already been created can be modified as described above.
▶ Fields that cannot be edited are marked as locked with a lock icon.
➢Select the team you want to edit, e.g., PPP Project Manager.
➢In the Local Business Owner Teams view, click on PPP Project Manager. ▶ The PPP Project Manager form opens.

You can add new members to the team or manage existing members:
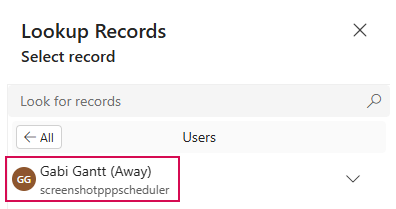
➢In the Team members field, click Add Existing User. ▶ The form will open.

➢Enter the name of the person you want to add to the team.

Or
➢Press Enter to search for a person.
➢Select the person you want from the suggestions.
➢Enter additional team members. (optional)
➢Click Add.
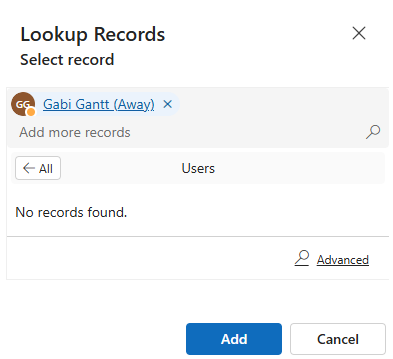
▶ The person(s) will be added to the team.
You can remove team members from the existing team:
➢Select the person you want to remove from the team.
➢Click the person’s checkbox to select them. (1)
➢Click Remove. (2)

Additional display options:
In the Team Members field, you can use the drop-down menu to switch to other views:
➢Click the down arrow and select the view you want:
