Assign Resources in the Schedule
On the Schedule tab, you assign the resources to the tasks.
➢Go to the Assigned Resources column.
➢Double-click in the cell of a task.
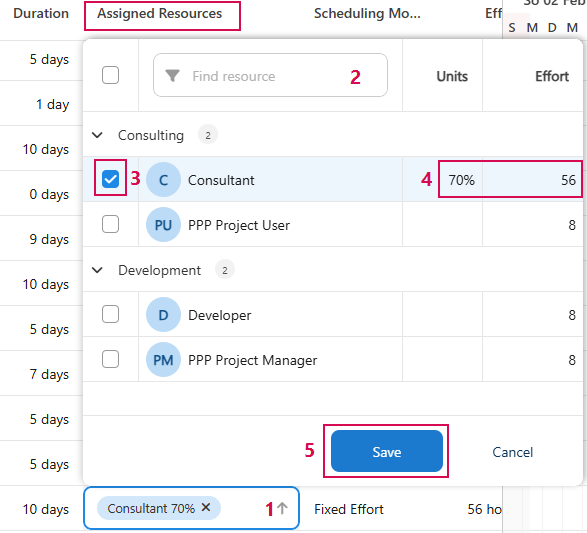
➢Click on the arrow. (1) ▶ A drop-down menu opens in which you can search for the resources.
▶ If you have already put together a project team, the drop-down menu shows the members of the project team. You can also search for other resources. Assigned resources are automatically added to the project team.
➢Enter the name of the resource or the name of the department in the filter field. (2)
➢Enter an asterisk (*) as a placeholder for parts of the name.
➢Enter two asterisks (**) to display a list of all resources in the resource pool.
➢Select a resource from the search results.
➢Click on the checkbox of the resource you want to assign to the task. (3)
Adjust the working time of resources:
➢Double-click on the Units column to adjust the percentage of working time.
Or
➢Double-click on the Effort column to adjust the number of hours.
➢Enter the desired value. (4)
➢Click on Save. (5)
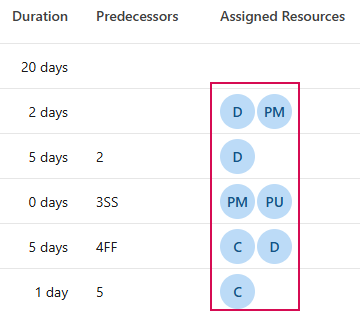
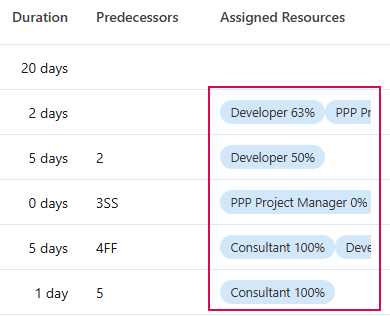
▶ The resource is assigned to the task and appears in the schedule.
▶ The effects of changes to units and efforts are described under Define Scheduling Mode.
By default, the name of the resource is displayed as an abbreviation in the schedule:
You have the option of displaying the full name of the resource in the schedule:
➢Click on Features. ▶ A drop-down menu opens.
➢Click on Show full resource names.
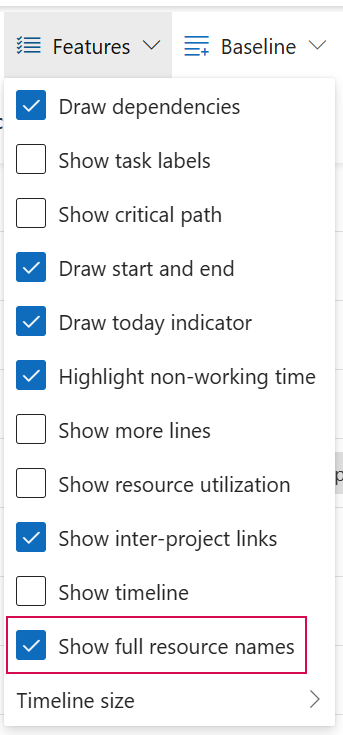
▶ The full resource name is displayed in the schedule.
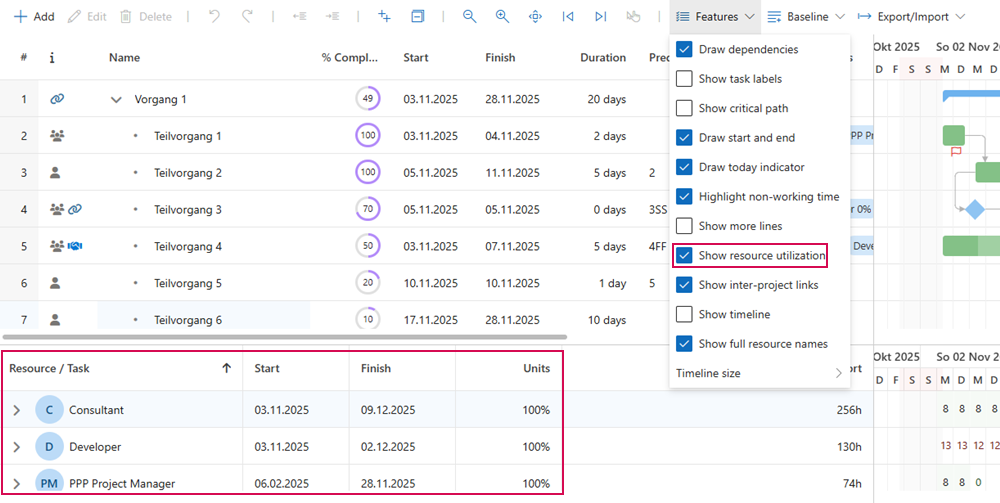
If Show resource utilization is activated in the Features menu, the resources and the allocated working hours are displayed in a table below the schedule.