Add Issues
|
Issues > Add Issues |
To add an Issue, proceed as follows:
➢Click on New Issue. ▶ The Quick Create: Issue form for creating an Issue opens.

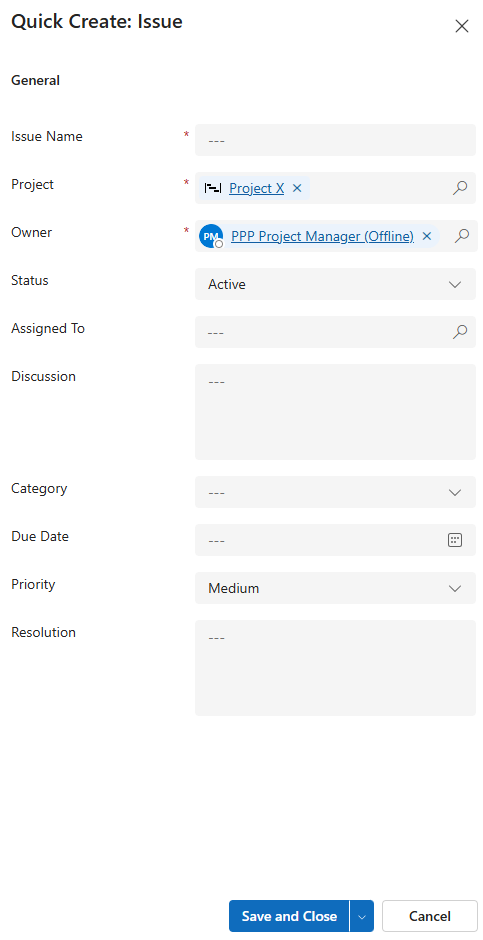
➢Fill out the form:
▶ To add an Issue, the mandatory fields must be filled out. All mandatory fields are marked with a red star.
▪General:
▪Issue Name: Enter a meaningful name for the Issue.
▪Project: The current project is selected by default.
▪Owner: Creator of the Issue. The current user is entered by default.
▶ You can select a different project or owner by clicking on the search icon (magnifying glass) and selecting a different project or owner from the drop-down menu.
▪Status:
➢Click in the field and select the desired status from the drop-down menu.
▪Assigned To: Stakeholder to whom the risk is assigned.
➢Click on the input field, press the Enter key, and enter the desired name.
▪Discussion: Enter the discussion points for the Issue.
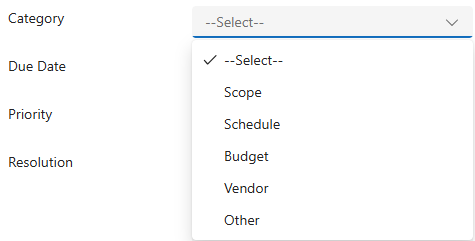
▪Category:
➢Click in the field and select the desired category from the drop-down menu.
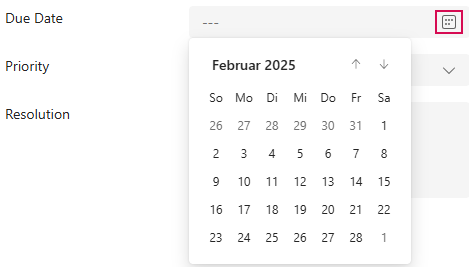
▪Due Date:
➢Click on the calendar icon and enter the due date.
▪Priority:
➢Click in the field and select the priority of the Issue from the drop-down menu.
▪Resolution:
➢Enter a description of the resolution.
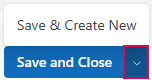
➢Click Save and Close.
Or
➢Click the down arrow and Save & Create New to add another Issue.
▶ An Issue is added.
▶ The Issue appears in the Active Issues table.