User interface for Timesheets
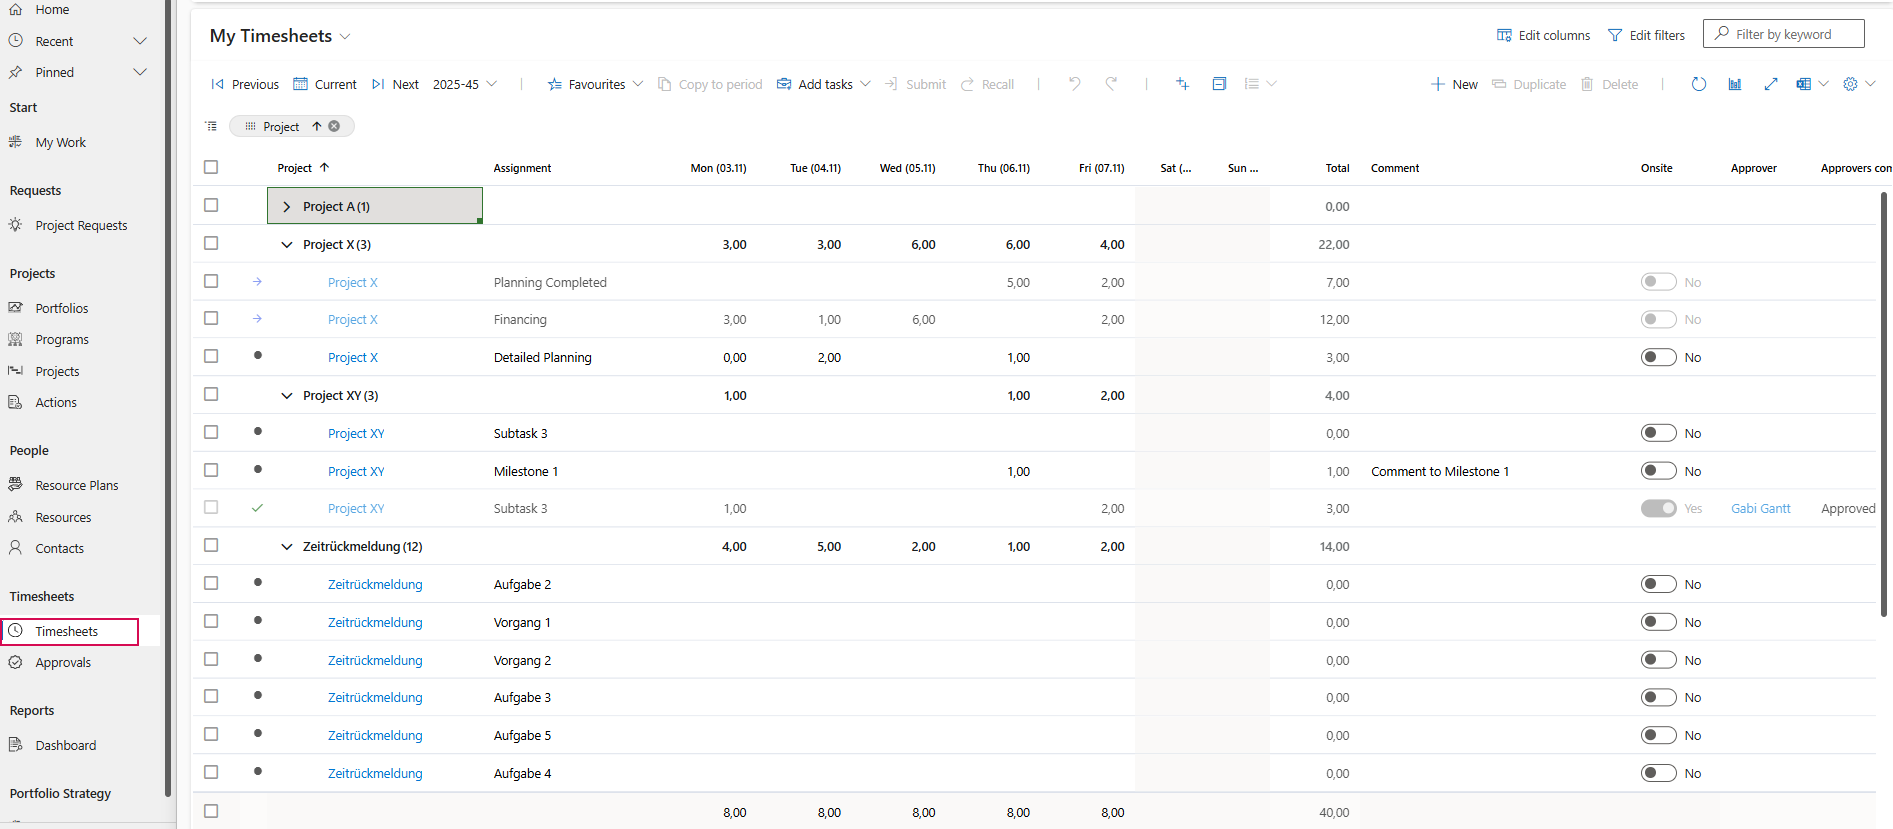
The My Timesheets view can be accessed via the Timesheets section in the Navigation bar:
➢Go to the Timesheets section in the Navigation bar.
➢Click on Timesheets.
▶ The My Timesheets view opens by default.
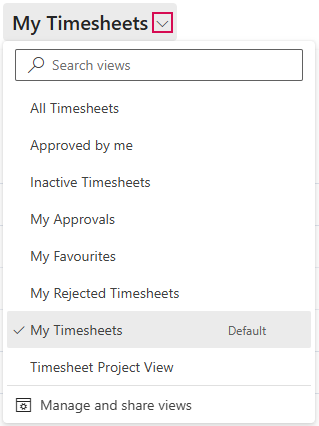
You can switch to other views using the drop-down menu:
Below the drop-down menu, you will find a command bar. The following commands are available for time reporting:

▪Jump back to the previous week (1)
▪Jump to the current week (2)
▪Jump to the next week (3)
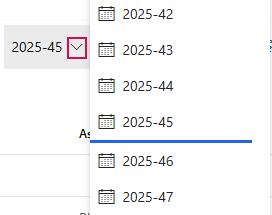
▪Open list of all available time periods (4)
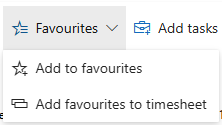
▪Open the Favourites drop-down menu (5)
▪Copy to period (6): Copy one or more tasks to other time periods.
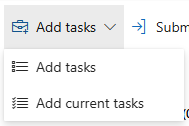
▪Open the drop-down menu for adding tasks to Timesheets (7)
▪Send selected rows for approval (8)
▪Recall selected rows after sending (9)
▪Undo last action and repeat last undone action (10)
▪Collapse and expand rows in the table and expand up to a specific point (11)
▪Add a new row to the table (12)
▪Duplicate selected rows (13)
▪Delete selected rows (14)
▪Reload page (15)
▪Shows or hides a graphical representation of the time spent per project (16)
▪Expands and opens the page content in a separate window (17)
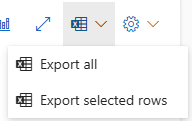
▪Export all or selected rows to Excel (18)
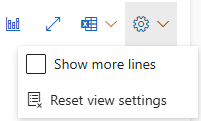
▪Open drop-down menu to display more rows per page or reset display settings (19)
Overview Timesheets:
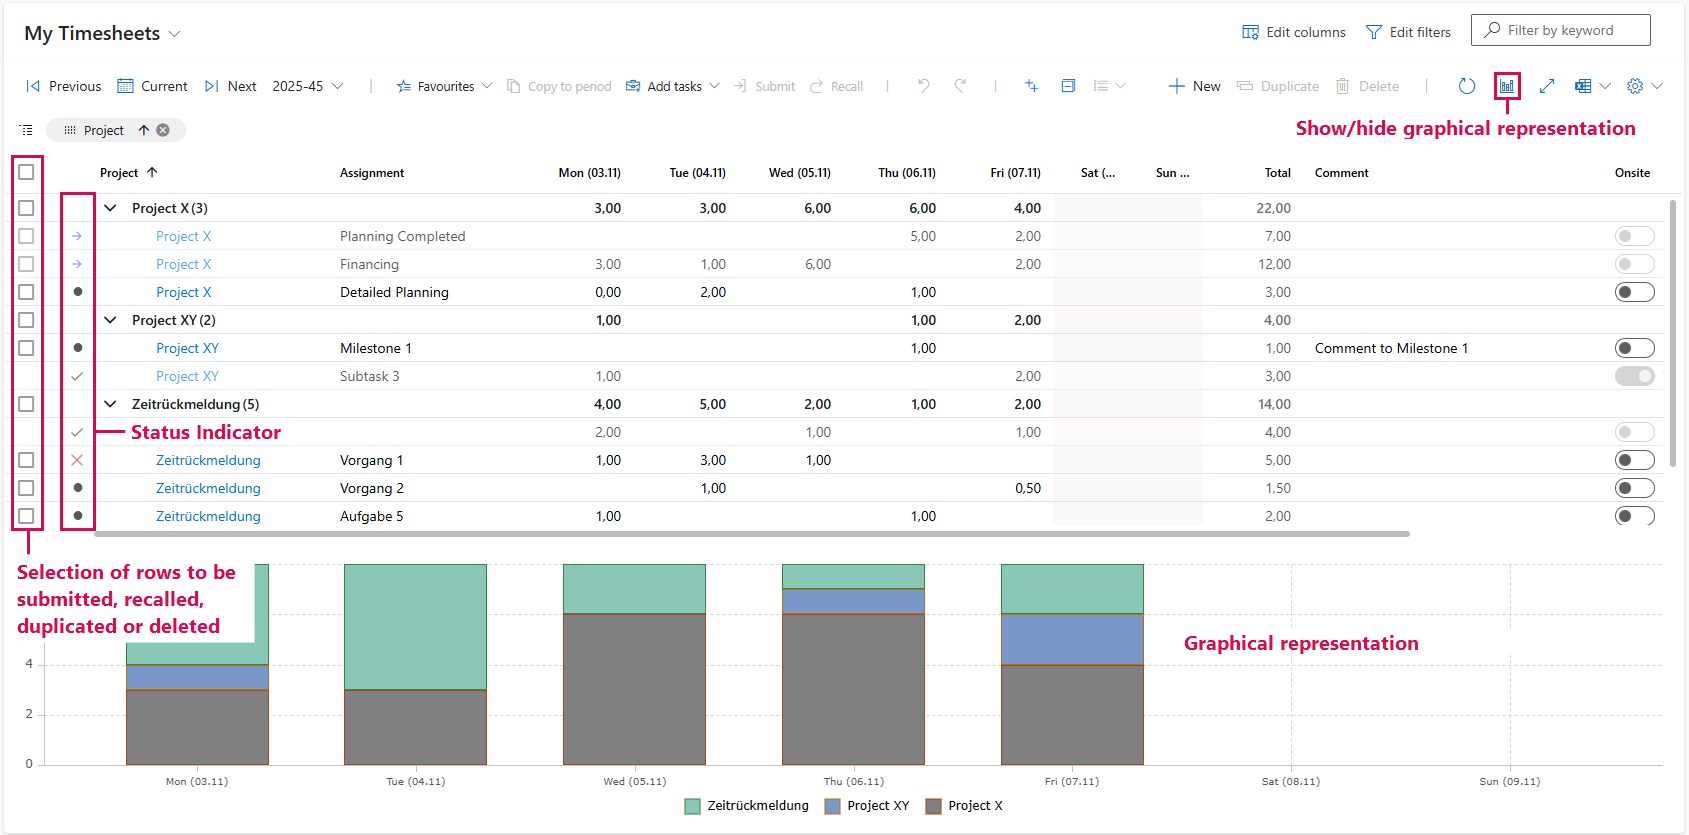
Explanation of status indicator:
▪Dot = Draft
▪Blue arrow = Submitted
▪Green check mark = Approved
▪Red cross = Rejected