Teams
In the Teams section, you manage team structures. Here, you can create new teams, edit existing entries, and organize employee assignments. There are two types of teams:
Owner Teams
▪Can own records
▪Have their own security roles
▪Team members receive permissions through these roles
▪Suitable for permanent groups (e.g., Departments)
Access Teams
▪Cannot own records
▪Grant individual users access to specific records
▪Access is granted on a per-record basis
▪Suitable for temporary or project-based collaboration
In the following sections, we will guide you through all available features and show you step by step how to create, customize and manage teams.
➢Click Teams in the navigation bar to open the Teams section.
▶ By default, the Teams section opens in the Local Business Owner Teams view.
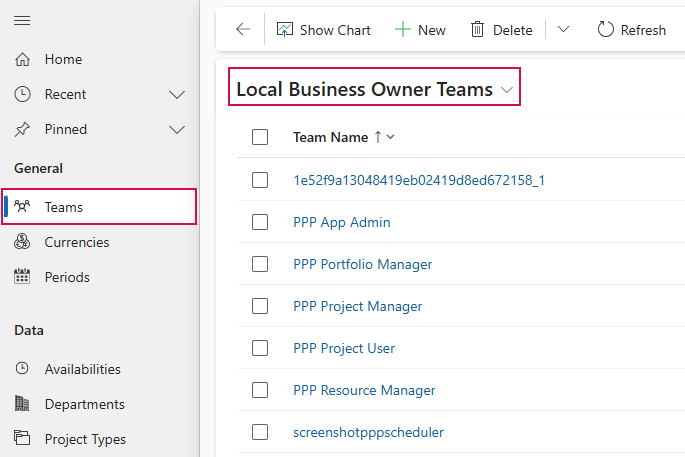
In this view, all local business owner teams are displayed in a table.
▶ Local business owner teams own and manage records within a specific business unit. The assigned security roles determine which access and editing permissions the team and its members have.
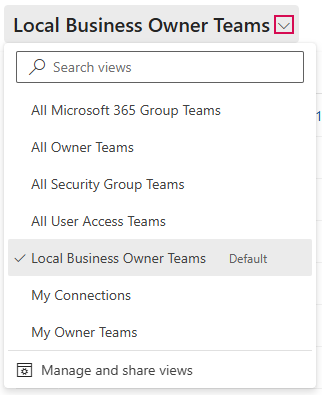
You can switch to other views using the drop-down menu:
➢Click the down arrow and select a view:
▪All Microsoft 365 Group Teams: A tabular list of all Microsoft 365 group teams.
▪All Owner Teams: A tabular list of all owner teams.
▪All Security Group Teams: Tabular list of all security group teams.
▪All User Access Teams: A tabular list of all user access teams.
▪My Connections: Tabular list of all team instances to which a user is linked via an active connection.
▪My Owner Teams: Tabular list of all owner teams to which the current user is assigned.
The following section describes how to create, edit, and manage teams.
▶ The procedure is described in the default view, Local Business Owner Teams. The procedure is the same in the other views.
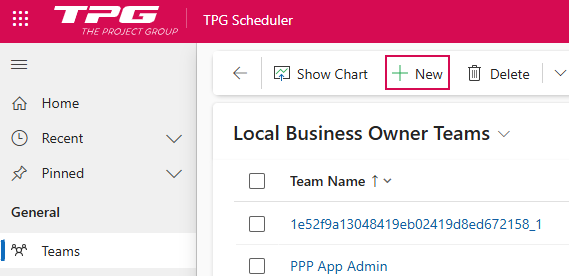
Create a Team:
➢Click New in the command bar. ▶ The New Team form opens.
➢Fill out the form:
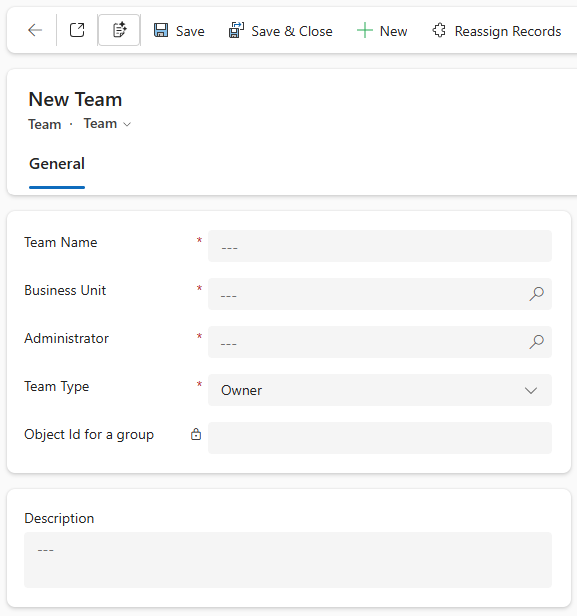
▶ All required fields are marked with a red asterisk.
➢Team Name:
➢Enter a name for the team. It should be as descriptive as possible.
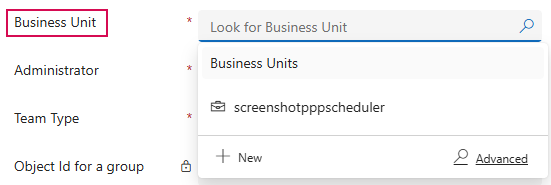
➢Business Unit:
➢Enter the Business Unit.
| Or |
➢Press Enter to search for a Business Unit.
| Or |
➢Click New to create a new Business Unit.
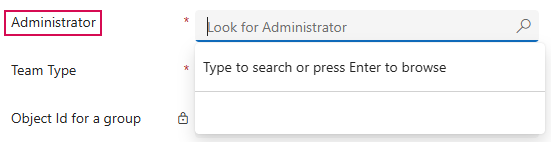
➢Administrator:
➢Enter an administrator.
| Or |
➢Press Enter to search for an administrator.
➢Team Type:
➢Click the arrow to select the type from the drop-down menu.

➢Object ID for a group
➢Description:
➢Enter a description for the Team.
➢Click Save or Save & Close on the command bar.

▶ A new Team has been created.
Edit Team:
Editing an existing team follows the same process as creating one: All fields that have already been created can be modified as described above.
▶ Fields that cannot be edited are marked as locked with a lock icon.
➢Select the team you want to edit, e.g., PPP Project Manager.
➢In the Local Business Owner Teams view, click on PPP Project Manager. ▶ The PPP Project Manager form opens.
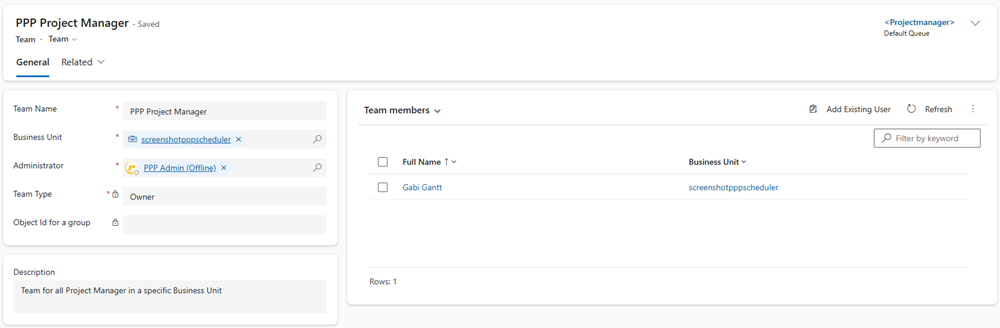
You can add new members to the team or manage existing members:
➢In the Team members field, click Add Existing User. ▶ The form will open.

➢Enter the name of the person you want to add to the team.
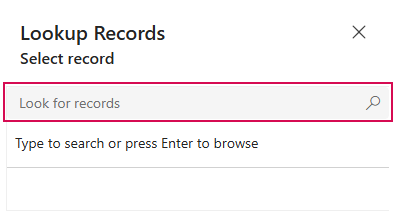
Or
➢Press Enter to search for a person.
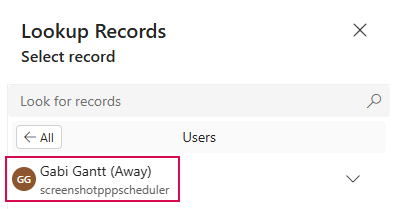
➢Select the person you want from the suggestions.
➢Enter additional team members. (optional)
➢Click Add.
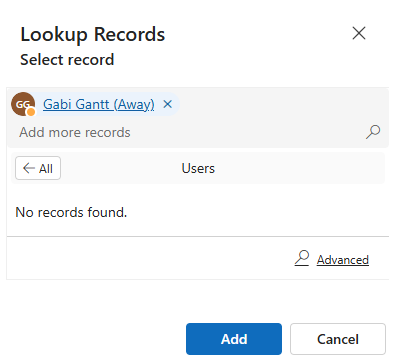
▶ The person(s) will be added to the team.
You can remove team members from the existing team:
➢Select the person you want to remove from the team.
➢Click the person’s checkbox to select them. (1)
➢Click Remove. (2)

Additional display options:
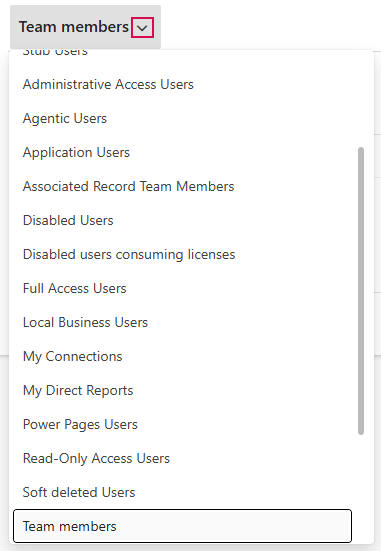
In the Team Members field, you can use the drop-down menu to switch to other views:
➢Click the down arrow and select the view you want: