Record working time
Record your working time for the desired week as follows:
➢Navigate to the week for which you want to record your working times. If the required activity is not available in the table, add it (see Add tasks to Timesheets).
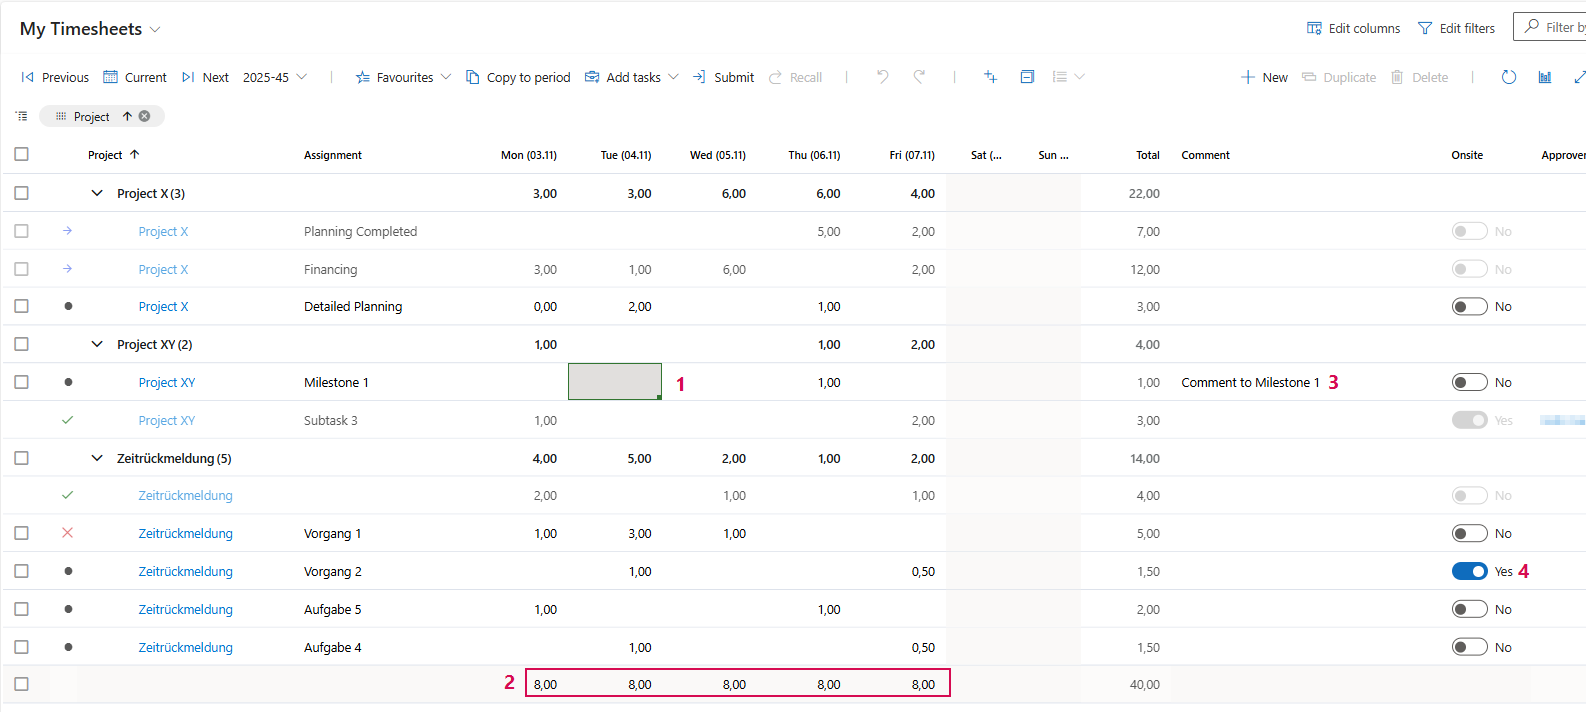
➢Enter the number of hours worked for each day and task in the table. (1)
▶ The last row shows the total number of working hours for all entries in the column. (2)
➢Hover your mouse pointer over a cell to view the budget information for that allocation.
▶ The Timesheet Budget displays the planned budget, the hours already logged, the remaining hours, and the current utilization rate.
▶ These values always refer to all hours already logged for this assignment.
The following table shows how the system behaves depending on the budget status and overbooking settings:
Scenario |
Behavior |
|---|---|
The logged hours are below the warning threshold. |
The entry is allowed. The tooltip shows the current budget status. |
The logged hours reach the warning threshold. |
After submitting, the timesheet cell shows a yellow warning. |
The logged hours exceed the budget and overbooking is allowed. |
Editing is allowed. The timesheet cell shows an orange or yellow warning. |
The logged hours exceed the budget and overbooking is not allowed. |
The timesheet cell shows a red error. Submission is blocked. |
The logged hours exceed 100% utilization and overbooking is not allowed. |
After submitting, the timesheet cell is marked in red. |
➢Enter details or comments for the person approving the entry in the Comment column (optional). (3)
➢If the work took place on site, set the value in the Onsite column to Yes. (4)
▶ When entering hours, be sure to check for budget warnings or error messages.
▶ If the budget is nearly reached, you will receive a warning. If the budget is exceeded, you can only enter the hours if overbooking is allowed.
▶ If overbooking is not allowed, correct your entry before submitting the timesheet.
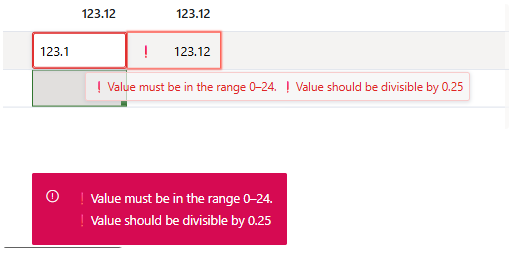
▶ The administrator may have defined additional validation rules for the columns. Values that do not meet these rules cannot be saved. Affected cells are marked with a red border and a warning icon. Hover your mouse pointer over the cell to view the corresponding error message. This also applies to values that were inserted using copy and paste.
Submit entries for approval:
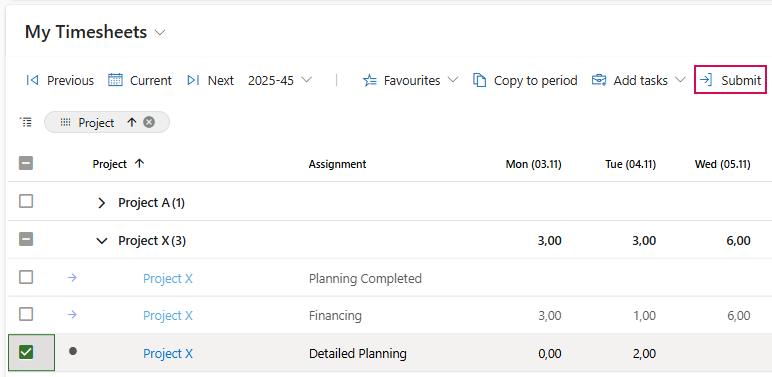
➢Select the checkbox for the row(s) you want to submit for approval.
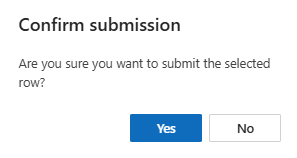
➢Click Submit to send the entry. ▶ A confirmation dialog will open.
➢Click Yes to confirm the confirmation dialog.
▶ The transaction(s) have been submitted for approval.
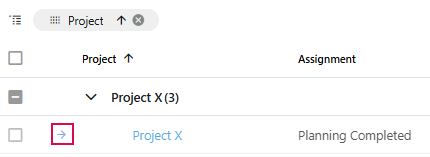
▶ An arrow will appear in the indicator column.
Recall entries:
You have the option to recall entries that have already been submitted.
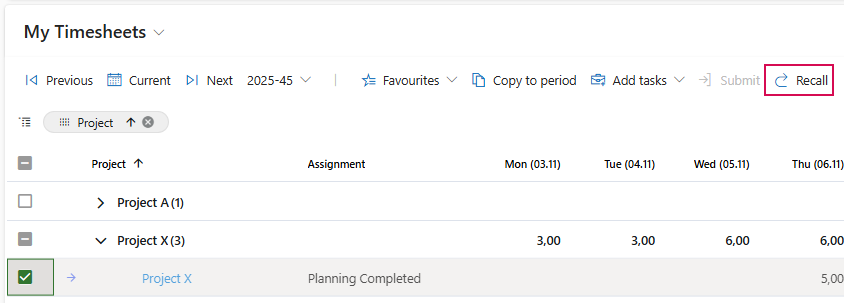
➢Select the checkbox for the line you want to recall.
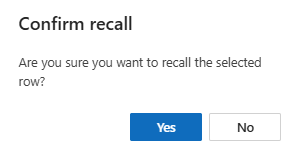
➢Click Recall. ▶ A confirmation dialog will open.
➢Click Yes to confirm the confirmation dialog.
Check approval status:
The name of the approving person is shown in the Approver column.
The status is shown in the indicator column:
▪Green check mark = approved
▪Red cross = rejected
▶ If the approving person has left a comment, it will appear in the Approvers comment column.
Edit rejected entries:
If your entries has been rejected, edit the line as described above. Resubmit the entry.