General
This section displays general information about the project:
▶ To make edits on the other tabs, the mandatory fields must be completed. All mandatory fields are marked with a red star.
▪Project Id: Is assigned automatically.
▪Name: Name of the project.
➢Click in the field and enter the name of the project.
▪Description: Short description of the project.
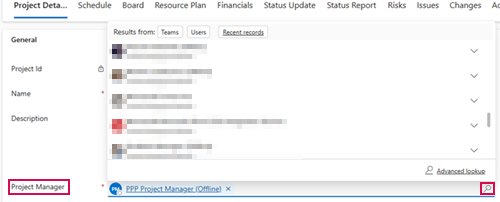
▪Project Manager: By default, the person who created the project is entered as the project manager. You can change the project manager:
➢Click on the search icon (magnifying glass) in the Project Manager input field. ▶ A drop-down menu opens.
➢Select the project manager from the drop-down menu.
▪Portfolio: Assign project to a portfolio.
▶ Follow the steps described above for the Project Manager.
▪Program: Assign project to a program.
▶ Follow the steps described above for the Project Manager.
▪Department: Assign project to a department.
▶ Follow the steps described above for the Project Manager.
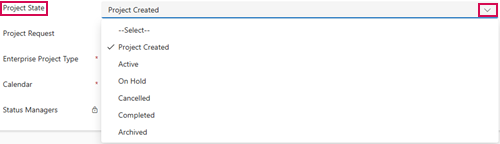
▪Project State: Set project state.
➢Click on the arrow in the Project State input field. ▶ A drop-down menu opens.
➢Select the project state from the drop-down menu.
▪Project Request: Assign project to a project request.
▶ Follow the steps described above for the Project Manager.
▪Enterprise Project Type: “Default Project Type” is selected by default. You can change the Enterprise Project Type.
▶ Follow the steps described above for the Project Manager.
▪Calendar: The “Default” calendar is selected by default. You can change the calendar.
▶ Follow the steps described above for the Project Manager.
▪Status Managers: Team that can approve and reject time recording requests for the project. This field is automatically filled in by PPP as soon as a time confirmation is made in the project for the first time.