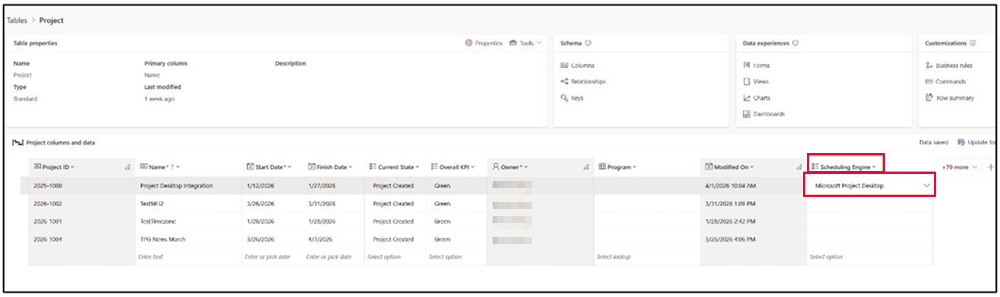
TPG ProjectPowerPack
To use different scheduling engines with TPG ProjectPowerPack, this functionality must be enabled and configured.
For more details, refer to the TPG ProjectPowerPack Admin Documentation.
Quick Start
To create a new scheduling engine configuration, proceed as follows:
➢Open a PPP project.
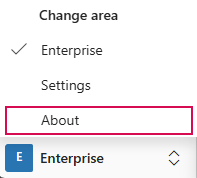
➢In the lower-left corner, open the Enterprise drop-down menu.
➢Click on About.
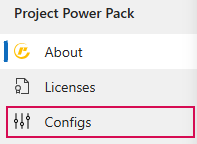
➢Click on Configs.
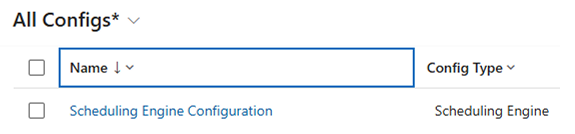
➢Locate and select Scheduling Engine Configuration.
➢Click + Add Item. ▶ The configuration page appears.
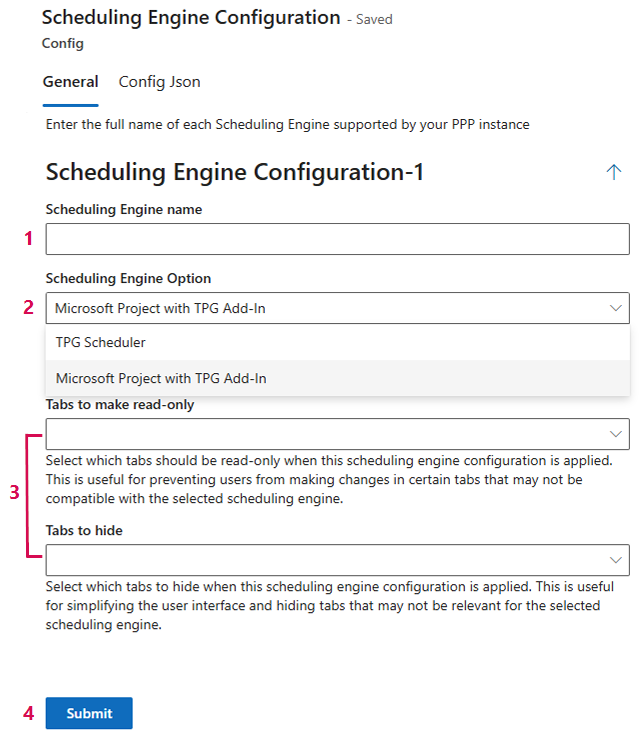
➢On the configuration page:
➢Enter a name for the configuration. (1)
➢Select Microsoft Project with TPG Add-In as the Scheduling Engine Option. (2)
➢Select the tabs to be: read-only, and/or hidden (3)
➢Click Submit to save the configuration. (4)
▶ When creating a new project, please make sure to set the correct Scheduling Engine for your project.